Table of contents
What Are Persistent Volumes in Kubernetes (k8s)?
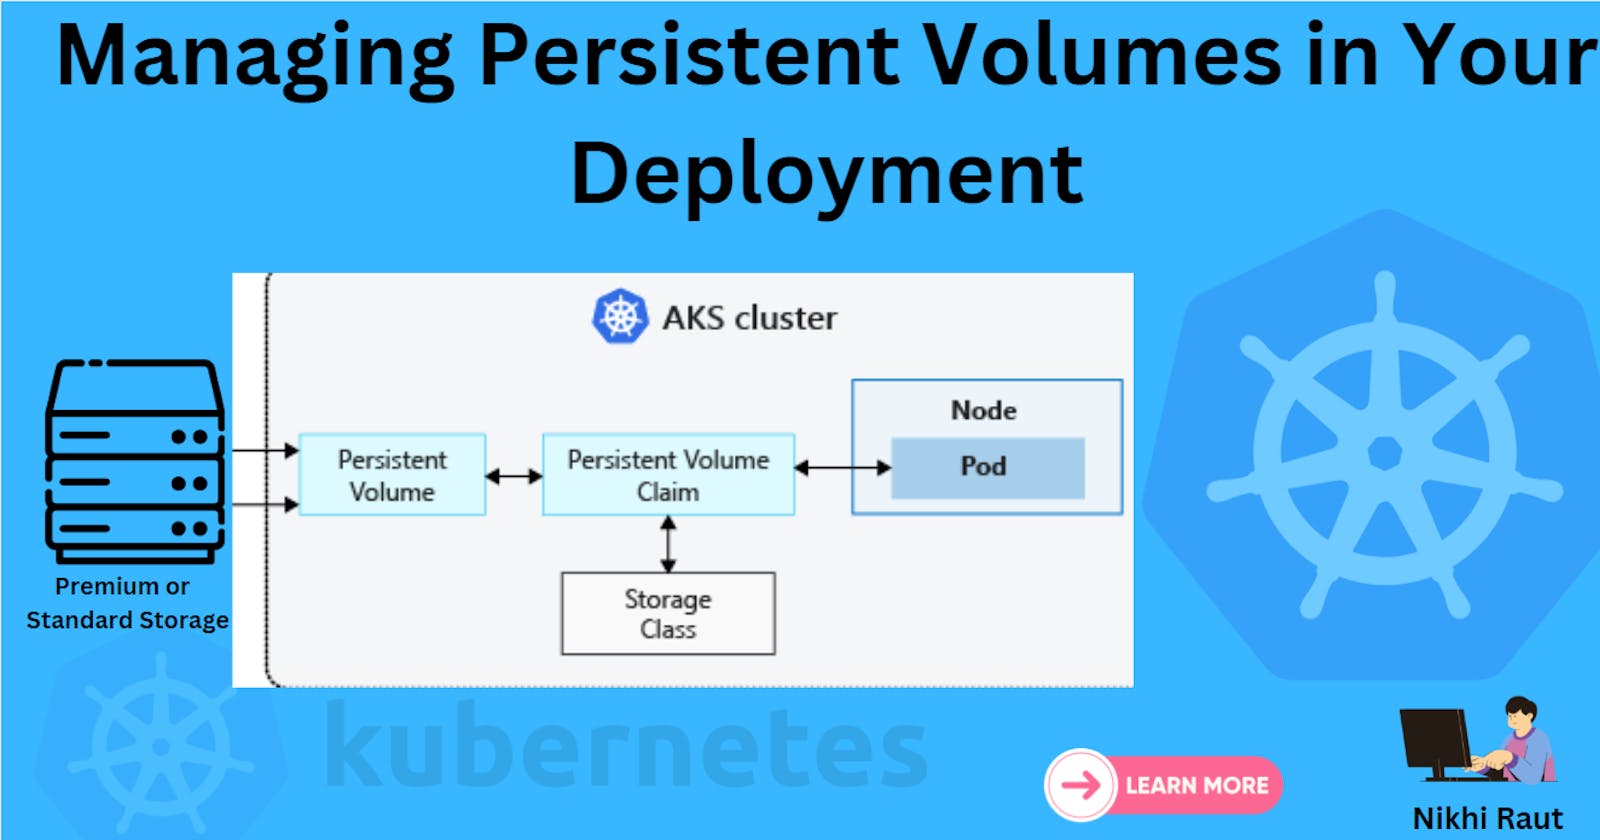
In Kubernetes, a Persistent Volume (PV) signifies a designated storage resource within the cluster, expertly provisioned by an administrator. When a user requires storage, they submit a Persistent Volume Claim (PVC) to request it. The PVC acts as a reference to the PV, and once established, the PV becomes associated with a specific node.
If you require more comprehensive insights, we encourage you to consult the authoritative Kubernetes documentation regarding Persistent Volumes.
let's proceed to today's tasks...
Task 1:
Add a Persistent Volume to your Deployment todo app.
Let's get started with Task 1, where we'll add a Persistent Volume to our Deployment for a "todo" application.
Step 1: Create a Persistent Volume (pv.yml)
This is a piece of storage in your cluster that can be dynamically provisioned and claimed by a Pod. To create a Persistent Volume, you can use a file on your node. You can create a YAML file, called pv.yml, that defines the Persistent Volume. This file should include the size of the storage, the access modes, and the path to the file on your node.
apiVersion: v1
kind: PersistentVolume
metadata:
  name: pv-django-todo-app
spec:
  capacity:
    storage: 1Gi
  accessModes:
    - ReadWriteOnce
  persistentVolumeReclaimPolicy: Retain
  hostPath:
    path: "/mnt/data"
This YAML file defines a PV with a capacity of 1Gi, ReadWriteOnce access mode, and a hostPath where the data will be stored.


Step 2: Apply the Updates
kubectl apply -f pv.yml -n <namespace-name>

Step 3: Create a Persistent Volume Claim (pvc.yml)
apiVersion: v1
kind: PersistentVolumeClaim
metadata:
  name: pvc-todo-app
spec:
  accessModes:
    - ReadWriteOnce
  resources:
    requests:
      storage: 500Mi
The PVC YAML file specifies a PVC named "pvc-todo-app" with a request for 500Mi of storage.

Step 4: Apply the Updates
kubectl apply -f pvc.yml -n <namespace-name>
Step 5: Update your Deployment(deployment.yml)
After creating the PV and PVC, update your deployment.yml file to include the Persistent Volume Claim. Ensure it references the PVC you just created.
apiVersion: apps/v1
kind: Deployment
metadata:
  name: todo-app-deployment
spec:
  replicas: 1
  selector:
    matchLabels:
      app: todo-app
  template:
    metadata:
      labels:
        app: todo-app
    spec:
      containers:
        - name: todo-app
          image: nikhilraut/todo-app
          ports:
            - containerPort: 8000
          volumeMounts:
            - name: todo-app-data
              mountPath: /app
      volumes:
        - name: todo-app-data
          persistentVolumeClaim:
            claimName: pvc-todo-app
Step 6: Apply the Updated Deployment
Apply the updated deployment using the following command:
kubectl apply -f deployment.yml -n <namespace-name>
Step 7: Verification
Verify that the Persistent Volume has been added to your Deployment by checking the status of the Pods and Persistent Volumes in your cluster using these commands:
kubectl get pods -n < namespace-name >
kubectl get pv -n < namespace-name >
Task 2:
- Connect to a Pod in your Deployment using the command :

kubectl exec -it <pod-name> -- /bin/bash
- Here we can create a file in the pod and check the data in the Persistent Volume in the interactive shell.
cd /tmp/app
At last exit from the pod.
Verify that you can access the data stored in the Persistent Volume from within the Pod by checking the contents of the file you created in the Pod.
